Lightyear Frontier How to Install Upgrades: 1.0 Guide
Lightyear Frontier how to install upgrades: use the 1.0 customization menu, upgrade tools and parts, equip Mod Chips, and unlock tool secondary abilities.
Jump to
How to Install Mech Upgrades in Version 1.0
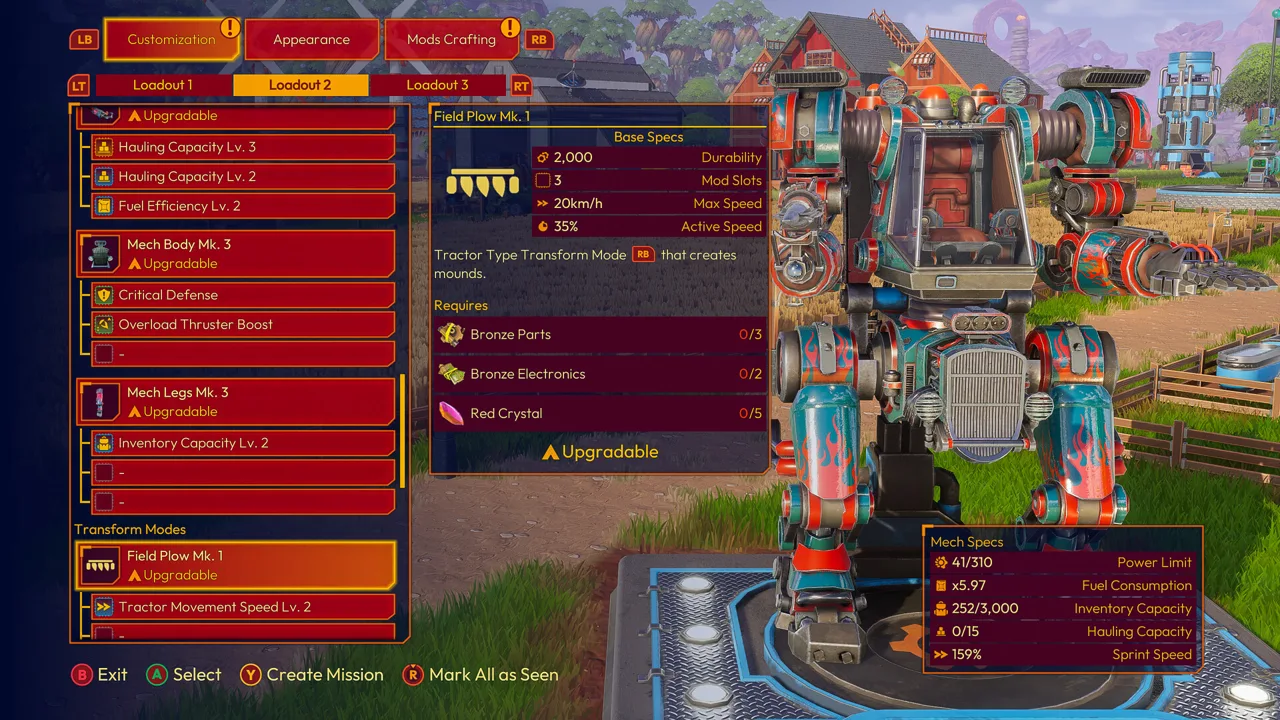
If you’re searching for Lightyear Frontier how to install upgrades, start with your Mech Depot’s customization menu. Version 1.0 lets you upgrade tools, parts, and transformation modes directly through dedicated slots, improving their built-in stats. Mod Chips equip separately, giving you another way to customize how your mech works.
The 1.0 update released on November 4, 2026, replacing the older process of crafting each equipment tier and manually swapping it into your mech.
To upgrade your equipment:
- Open mech customization at the Mech Depot. Tools, parts, modes, and their Mod Slots are accessible from the same menu layer.
- Select the piece you want to improve. Each has its own dedicated slot and preset upgrade path.
- Review its next upgrade and requirements. Follow the current menu when gathering materials; upgrade costs and Milestone rewards changed in 1.0.
- Complete the available upgrade. The piece advances directly along its path, with its equipped Mod Chips carrying over.
For example, a Seed Shooter Mk. 1 upgrades directly into a Seed Shooter Mk. 2. You no longer need to craft a separate replacement and move its chips yourself.
| Upgrade element | How it works in 1.0 |
|---|---|
| Tools, parts, and modes | Upgrade directly along dedicated paths |
| Built-in stats | Improve as equipment levels increase |
| Tool secondary abilities | Unlock with the tool’s first upgrade |
| Mod Chips | Equip separately in individual Mod Slots |
| Transformation modes | Become available in the transformation wheel once unlocked |
Official page: Lightyear Frontier (lightyearfrontier.com)
How to Equip Mod Chips
Upgrading a piece of equipment and installing a Mod Chip serve different purposes. Equipment upgrades improve the piece itself, while chips add effects to your build.
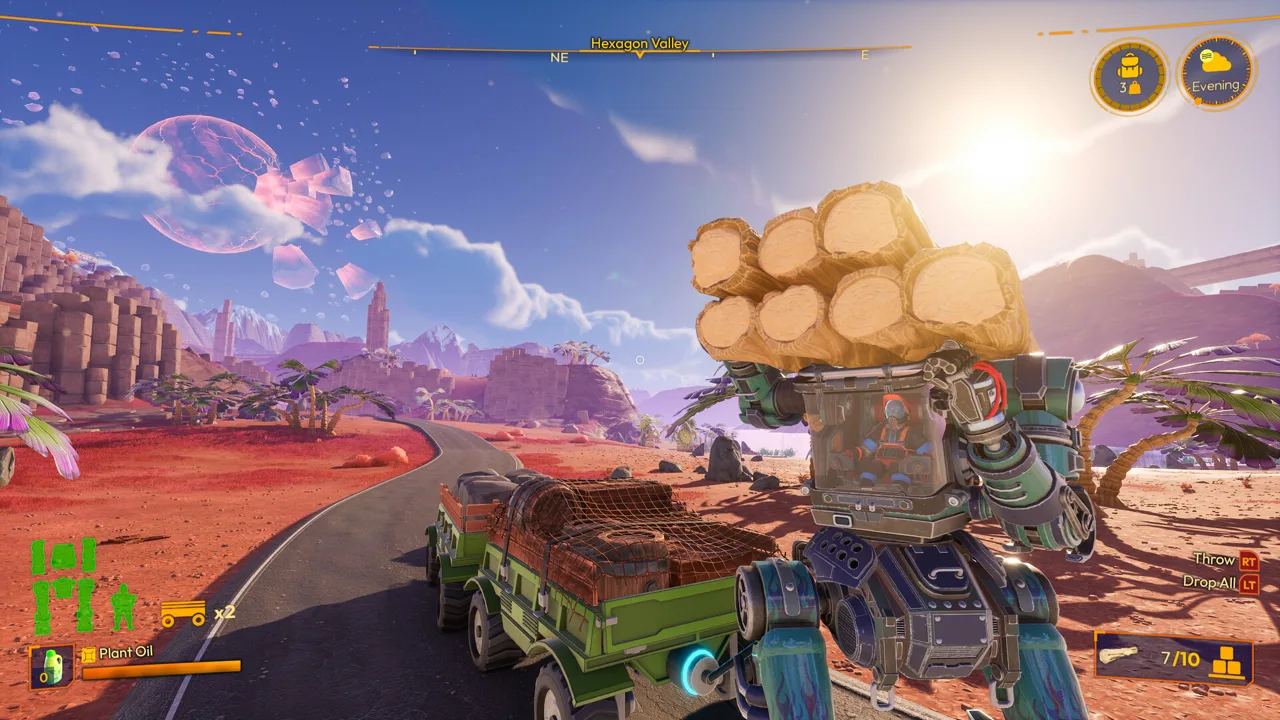 Image: Steam / FRAME BREAK
To install a chip, select the relevant equipment’s Mod Slot in the customization menu and equip the chip there. You can also equip mods directly from crafting or move one from another part where it is already installed.
There are fewer Mod Slots in 1.0, but individual chips have stronger effects. Check a chip’s effect and Mech Power cost before equipping it. Tools, parts, and modes no longer consume Mech Power, leaving more available for mods.
Some additions change your mech’s behavior substantially:
- Seed Shooter Minigun mod: Enables rapid, continuous seeding for large fields.
- Hover Thrusters mod: Lets the mech maintain a steady elevation for extended periods.
- Tool Speed Mod Chips: Increase the charge-up speed of the Sprout Cannon’s Sprout Volley.
- Tool Range Mod Chips: Increase the range of the Irrigation Hose’s charged rectangular watering ability.
Prometheus Station’s Research Deliveries provide blueprints for unique mech mods. Complete those deliveries to expand your crafting options.
Unlock Tool Abilities Through Upgrades
You no longer need a separate Mod Chip to unlock a tool’s main secondary ability. Upgrade the tool for the first time to gain its secondary action.
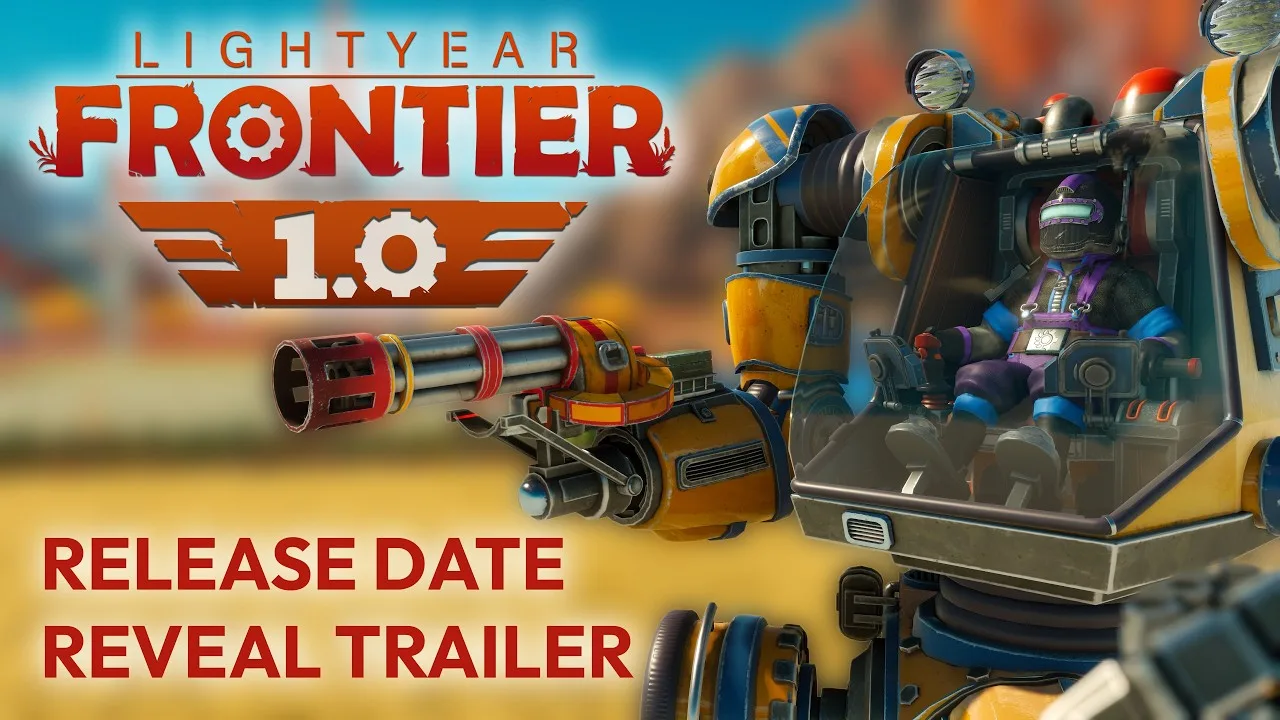
This matters when planning your Mod Slots: you can use them for other effects instead of spending one on a basic tool function.
The Sprout Cannon’s Sprout Volley charges up to plant multiple sprouts across an area. The Irrigation Hose’s secondary ability now charges to cover a rectangular area, changing how you water larger fields.
The Seed Shooter also gains Seed Stacking through its upgrade progression. This lets you plant seeds into the same mound multiple times for a yield bonus.
Upgrade the tool tied to your current task. Improve the Seed Shooter to work toward Seed Stacking, or upgrade a tool whose secondary ability will help with your planting or watering routine.
Why Older Upgrade Instructions Look Different
Early Access instructions can send you looking for menus and crafting steps that disappeared in 1.0. The Parts Crafting section was removed when equipment switched to direct upgrade paths.
 Image: Steam / FRAME BREAK
Several body parts were combined, too:
- Left and right arms became Mech Arms.
- Left and right legs became Mech Legs.
- The Windshield and Engine became Mech Body.
Transformation modes also work differently. Once unlocked, they appear in the transformation wheel without requiring mode slots. Skyblazer adds continuous, plane-like flight to those options.
If an upgrade is still locked, review its progression requirements in the current menu. Milestone rewards were rearranged, and Milestones 13 and 14 added more upgrades and mech parts. Use the current upgrade path instead of following an Early Access shopping list.
Returning Saves and Appearance Unlocks
Existing players do not need to restart for the customization overhaul. Mods carry over, and replacement parts match your previous highest tier.
Appearance remains separately customizable. Even though arms, legs, and body components were combined for upgrades, you can still change the look of each arm, each leg, the Windshield, and the Engine individually.
Upgrading a part to its next level unlocks that appearance in the Appearance section. Select the newly unlocked look there when you want your mech’s styling to match its upgraded capabilities.
Continue with
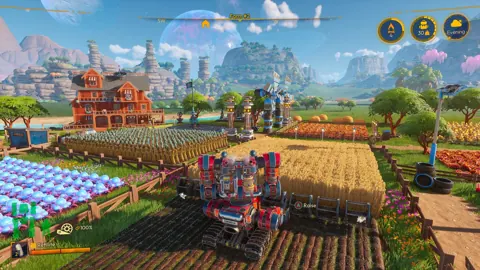 Lightyear Frontier Only 2 Mech Parts? 1.0 ExplainedLooking for Lightyear Frontier only 2 mech parts? Learn how 1.0 combines components, changes upgrades, and keeps individual mech appearances customizable.
More in Mechs
See all Mechs
Continue exploring

Lightyear Frontier Eggs: How to Find and Hatch Them
Find Lightyear Frontier eggs, hatch farm animals, and hunt Radiant Eggs. Learn the 1.0 feeding drop rate, incubator basics, and how lenses affect hatching.
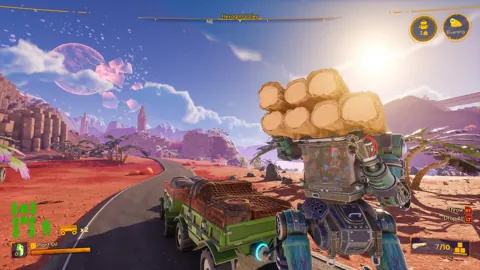
Lightyear Frontier Automation Crafting Guide for 1.0
Use this Lightyear Frontier automation crafting guide to connect storage, set Auto Craft recipes, manage energy, and fix broken pipes in the 1.0 update.
Join the community
Official channels for news, updates and player help: